Microgreen Growing Instructions
Day 1 & 2 – Sowing and Germination
1. Place soil/coco puck in growing cup and add 5-7 tablespoons of water (just under ½ cup). Agitate the puck in the water and soak for 5 minutes, allowing the puck to expand. If any dry clumps remain, add a few drops of water directly to the dry clumps.
2. Using your hand or the back of a fork, pat the soil down flat and level but not compressed.
3. Sprinkle seeds from the packet evenly over the top of the soil. (Note: for Sunflower and Pea Seeds, see notes on pre-soaking seeds below).
4. Fill the mist bottle with water and spray the seeds, making sure that all seeds are thoroughly wet.
5. Mist the underside of the clear lid and press lid over the growing cup to cover and seal humidity in.
6. Place the sealed cup in a warm (not hot) place, away from direct light for two days. It is okay to place it in a dark place like a cupboard.
7. During this 2 day period, remove the humidity lid and give the germinating seeds a light misting (3-4 pumps with the mist bottle once a day)
Day 3 & 4 – Water & Light
1. Remove the humidity lid and mist the seedlings. Expose the growing container to light, preferably a light source from directly above. Sunlight or artificial light is fine.
2. Add water twice a day using 4-5 pumps from the mist bottle. It is okay to adjust the water amount depending on conditions. If the soil looks damp, add less water. If the soil looks dry, it is okay to add more.
3. Provide light for 12-16 hours per day. Make sure your crop is in a warm spot (about 70 degrees F)
Day 5 to 7 – Water & Light
1. Once or twice a day, add between 3-5 tablespoons of water. Dribble the water slowly in different places over the crop (the mist bottle is an insufficient method of watering at this stage.) Use care to not bend the young sprouts too much. Your soil should have an even dampness. As your crop grows, it drinks more water, so monitor soil dampness periodically and use more or less water as needed to maintain preferred moisture.
2. Continue to provide light for 12-16 hours per day.
Day 7 to 10 – Harvest
1. Microgreens are typically ready for harvest between day 7 and 10, depending on the crop or growing conditions (radish and sunflower are faster growing and ready to harvest on day 7 or 8. Pea shoots are slower, ready on day 9 or 10).
2. Harvest by giving your crop a “haircut” with scissors. Trim at the rim line of the growing cup. Use care not to pull up any soil.
3. If needed, rinse your harvested microgreens in ice cold water. To dry them, lay them out on a paper towel and place them in the refrigerator to air dry. The cold temperature will prevent wilt.
Enjoy
Use as a beautiful garnish or an addition to a salad.
Visit www.tinygreensguam.com for soil and seed refills, growing supplies and live microgreens.
TIPS & TROUBLESHOOTING
Presoaking Sunflower and Pea Seeds
Sunflower and pea seeds will germinate better if pre-soaked in cold water for 6-8 hours before sowing. Sow the soaked seeds directly on top of the soil and spread evenly. Most other seeds do not require a pre-soak.
Scraggly Phase
Most microgreen crops go through a “scraggly phase” around day 3 or 4, where you might doubt that your crop will end up looking healthy. This is normal. Continue to provide proper care to your crop and you will be surprised how nicely the crop will fill out. Providing light directly from above can help to minimize the scraggly phase.
Mold
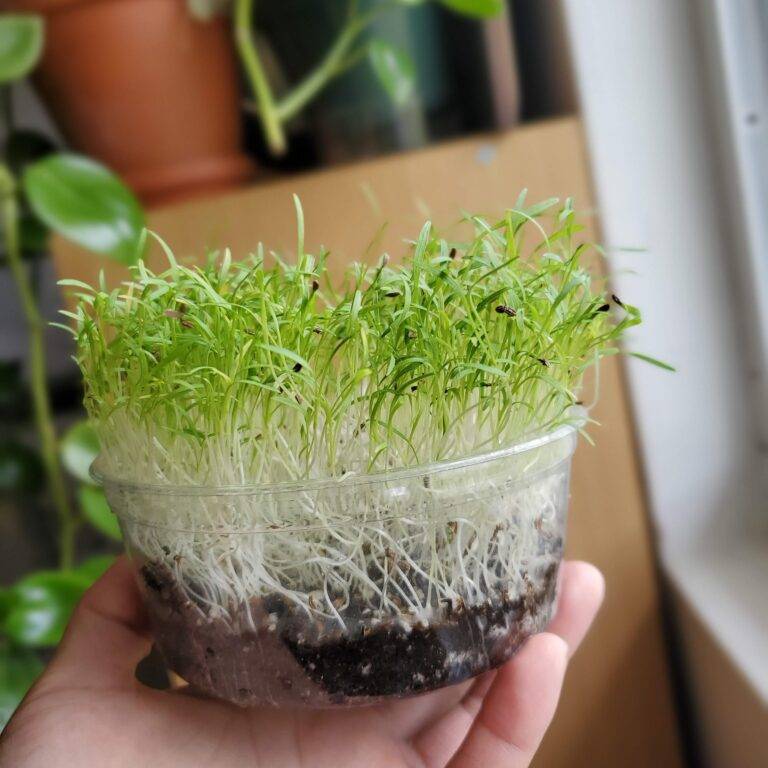
If you notice patches of mold on your crop, add some household hydrogen peroxide to your spray mist bottle at about a ratio of 1 part hydrogen peroxide to 4 parts water. Mist the crop thoroughly giving extra attention to affected areas. If caught and treated early, this approach should wipe out any mold issues and save the crop. Use care not to mistake the micro-root hairs for mold. The micro root hairs appear white, fuzzy and limit themselves to the roots. They are especially pronounced in radish and sunflower. Mold by contrast is typically patchy and affects more than just roots.
Leggy Greens
If you provide light directly from above, your greens will put more energy into the leaves and less into the stems. If you provide light from the side, your greens will put more energy into the stems to angle to catch the light, resulting in “leggy” microgreens.
Wilt
Wilt is usually a sign of under watering. Make sure to keep your solid damp, but not soggy.